

CentOS7安装私人仓库-gitlab
CentOS7安装私人仓库 之 gitlab (汉化版)
- 说明:gitlab中文社区版的项目,v7-v8.8是由Larry Li发起的“GitLab 中文社区版项目” https://gitlab.com/larryli/gitlab,从 v8.9 之后,@xhang 开始继续该汉化项目 https://gitlab.com/xhang/gitlab。
一.获取gitlab的汉化包(只是汉化补丁并非gitlab本体,如果你需要英文版请跳过这步)
1.安装git
yum install -y git
2.克隆获取汉化版本库
#下载最新的汉化包
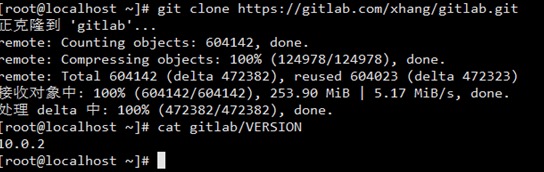
git clone https://gitlab.com/xhang/gitlab.git
- 如果是要下载老版本的汉化包,需要加上老版本的分支,比如今天已经是10.0.4,我依旧想下载10.0.2,可以运行下面的语句
 #在后面加上你想要的版本
 git clone https://gitlab.com/xhang/gitlab.git -b v10.0.2-zh
3.检查汉化补丁的版本
cat gitlab/VERSION
二.安装Gitlab社区版
1.安装gitlab的依赖项
 #10.x以后开始依赖policycoreutils-python,我之前在使用9.x时还没有依赖该项。
 yum install -y curl openssh-server openssh-clients postfix cronie policycoreutils-python
2.启动postfix,并设置为开机启动
systemctl start postfix
systemctl enable postfix
3.设置防火墙
firewall-cmd --add-service=http --permanent
firewall-cmd --reload
4.获取gitlab的rpm包
(1).途径1:通过清华开源镜像站
- 查看清华开源镜像站,有我需要的10.0.2的rpm包。

#获取rpm包
wget https://mirrors.tuna.tsinghua.edu.cn/gitlab-ce/yum/el7/gitlab-ce-10.0.2-ce.0.el7.x86_64.rpm
(2).途径2:从官方获取RPM包后上传到/root目录下
官方下载:点我进入官网
- 因为要在centos7上安装版本10.0.2的gitlab,故找到gitlab-ce-10.0.2-ce.0.el7.x86_64.rpm下载到本地后,通过Bitvise SSH Client工具将rpm包上传到gitlab虚拟机的/root目录下。
- 说明:从下载速度和方便程度来说,走清华的镜像站的方式更优,但是我2017/10/20想下载gitlab10.0.4时,发现清华的镜像站最新只有10.0.3,故在增补“途径2”获取最新的安装包。
5.安装rpm包
#注意这里的 gitlab-ce-10.0.2-ce.0.el7.x86_64.rpm 换成自己下的包名
rpm -i gitlab-ce-10.0.2-ce.0.el7.x86_64.rpm
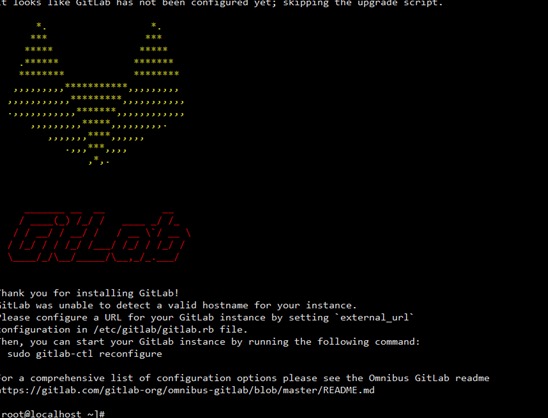
6.根据提示,继续执行指令配置gitlab。
gitlab-ctl reconfigure
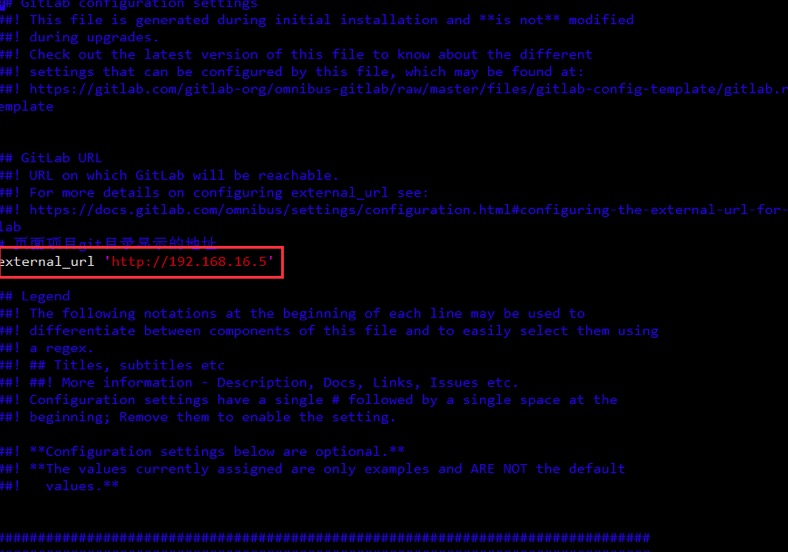
7.修改配置文件gitlab.rb
vim /etc/gitlab/gitlab.rb
- 将external_url变量的地址修改为gitlab所在centos的ip地址。(因为我这台centos是16.5,故配成图中的地址)。
8.重启配置文件
#因为修改了配置文件,故需要重新加载配置内容。
gitlab-ctl reconfigure
gitlab-ctl restart
9.查看gitlab版本
head -1 /opt/gitlab/version-manifest.txt
三.覆盖汉化包
1.停止gitlab服务
gitlab-ctl stop
2.切换到gitlab汉化包所在的目录(即步骤二获取的汉化版gitlab)
cd /root/gitlab
3.比较汉化标签和原标签,导出 patch 用的 diff 文件到/root下
git diff v10.0.2 v10.0.2-zh > ../10.0.2-zh.diff
4.回到/root目录
cd /root
5.将10.0.2-zh.diff作为补丁更新到gitlab中
yum install patch -y
patch -d /opt/gitlab/embedded/service/gitlab-rails -p1 < 10.0.2-zh.diff
6. 启动gitlab
gitlab-ctl start
7.重新配置gitlab
gitlab-ctl reconfigure
四.设置管理员密码
- 管理员账号登录的用户名:root(虽然登录后管理员的用户名为Administrator,但是实际登录的用户名是root)
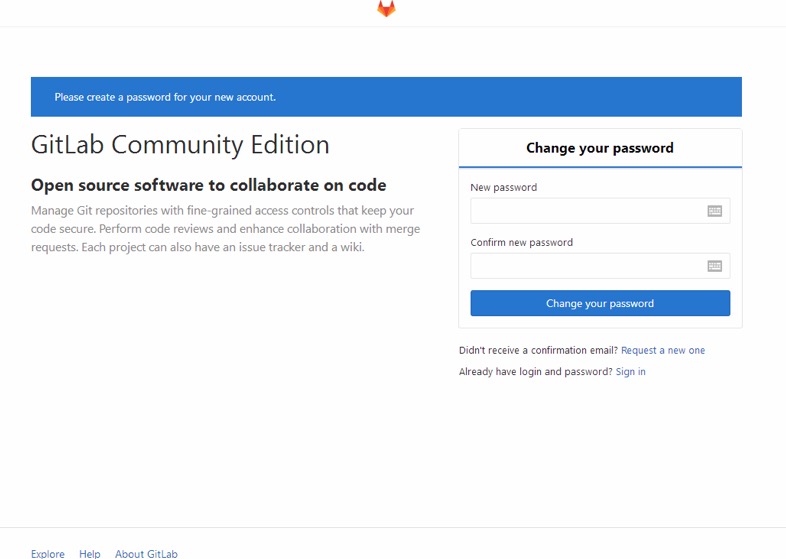
1.网页方式
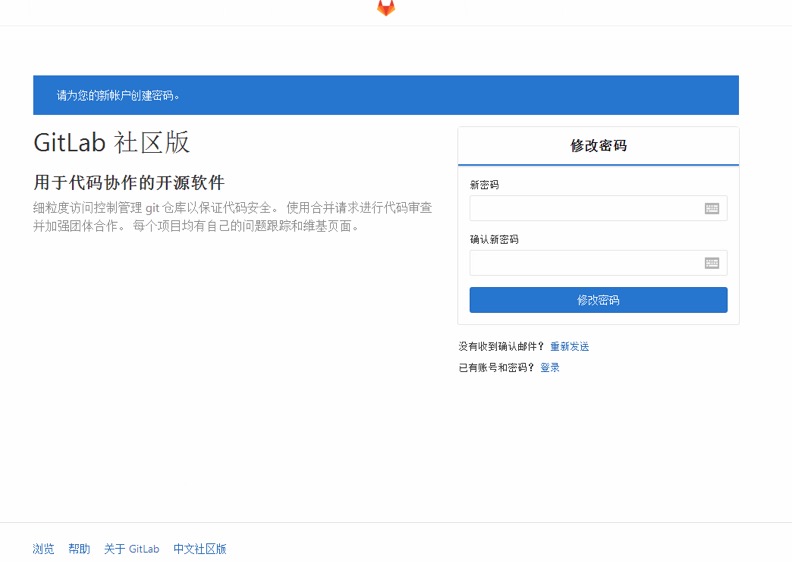
- 浏览器访问gitlab所在的ip,输入密码后点击 “Change your password”(如果进行汉化,点击“修改密码”)。
2.指令方式
装有gitlab的主机上终端输入:
gitlab-rails console production
稍等一会后会出现

#然后在irb控制台指令输入已下内容(irb(main):00x:0> 不是指令 )
irb(main):001:0> user = User.where(id: 1).first # id为1的是超级管理员
irb(main):002:0>user.password = '你的密码' # 密码必须至少8个字符
irb(main):003:0>user.save! #  如没有问题 返回true
exit #  退出
五 .如果出现问题或不懂的可以在下方留言!
本文是原创文章,采用 CC BY-NC-ND 4.0 协议,完整转载请注明来自 SNTU Studio
阅读建议
评论
匿名评论
隐私政策
你无需删除空行,直接评论以获取最佳展示效果